The Ultimate Beef & Potato Pie…


After a fantastic Summer the temperature has dropped and it’s looking a little gloomy outside… (although now I am writing this it seems Summer is making a comeback!) but that’s ok, it means it’s time to start cooking those lovely comforting foods!

And what could be more comforting than a big old fashioned Meat & Potato pie, or two!

Beef Pie

It was handy that our friendly butcher had just had delivery of a nice highland cross cow then (cross as in hybrid breed, not a bit ticked off!)

When I’m slow cooking beef for stews or pies I love to use the shin. After hours of cooking it is lovely and tender, sticky and sweet and it gives your gravy soooooo much depth of flavour and because of the gelatinous nature of the cut it naturally thickens your gravy too.

As a bonus, because we had the whole shin we got to take the bones away too to make a lovely ‘Ome-made beef stock.

And of course I couldn’t resist popping along to the local off licence (Cheers Mr Mitchell!) to get a couple bottles of ale to make the gravy with. I used Badger Breweries Poachers Choice. A lovely dark beer flavoured with Damsons. It always reminds me of Autumn and Winter. It’s one of those beers that gives you that lovely warm fuzzy feeling, ideal for drinking on a cold winters night around an open fire.  Of course some of the beer didn’t make it into the finished product!

Poachers Choice

So we have lovely rare breed, high welfare beef. ‘Ome-made beef stock to make the gravy, enriched with some rich fruity beer. A crumbly, butter laden, golden pastry crust… It all sounds fantastic but I’m sure there is something missing?

Of course! A good friend to share it with!. Cue Pete, now lets get stuck in!


First job is the stock.


If you don’t have the bones, the time or you just rather wouldn’t make your own then that’s fine. Just replace with bouillon or stock cubes.

I made this the day before I made the pie as I wanted to use the stock to cook the meat in.

So, I used the whole shin bone. Mick at the farm shop kindly cut it into three pieces so that it could fit in our stock pot.

Shin Bones

First of all I roasted the bones a few carrots and a couple of onions in a moderate oven for roughly 45 minutes. this just starts to caramelise the flesh, fat and sinew that’s left on the bones which will help give your stock a deeper flavour and a lovely dark colour (in fact to help with this I sprinkle a bit of sugar over!).

I then put the bones, onion and carrots in a stock pot, covered with water and put on to boil. whilst the water comes up to the boil I added 1 star anise, roughly 5 bay leaves, a teaspoon of black pepper-corns and a generous pinch of thyme. The stock can now be left for a couple of hours (ours was on for about four!) simmering away.

Beef Stock cooking

After a few hours, or more if you have the time, you need to take the bones out of the stock and strain the stock into another pan. You can now add your ale, wine or anything else you want to flavour the stock with. This then needs to be reduced by about two thirds by boiling vigorously.


If there is any marrow left in the bones, scoop it out and whisk it into the stock to enrich it. In our case if MissT is knocking about then it won’t make it that far, she absolutely loves bone marrow!

The stock needs to cool and ideally be refrigerated so that the fat can solidify and be skimmed off. It is then ready to use.

                                                                                   Finished Beef Stock

Cooking The Pie filling


I cooked the meat in big pieces. This allowed me to cook the meat for a long time to allow the fat and connective tissue to break down, make the meat melt in the mouth, add flavour and texture to the finished gravy.

I used 3 Kilo of Shin. This made 2 pies to feed 10 – 12 hungry people. Of course you could easily half the amount or if you can’t manage two pies you can freeze one portion of the cooked mixture to make another pie or a stew at a later date.


Generously coat your meat with seasoned flour (the easiest way to do this is to put the flour in a plastic bag, add your meat a bit at a time and give it a good shake!).

Browning Shin

Heat some oil in a heavy bottomed pan and then gently fry your meat until it has a nice golden colour. then add your stock to just cover the meat. bring to a simmer, cover and then put in the oven at 130°C/260°F for four hours.

In our case we now took the kids to their  swimming lessons (which takes about three hours!). If however you don’t have swimming lessons to do then I could recommend; mowing the lawn, cleaning the chickens out, fixing the leak under the sink or best of all going for a nice pint at your local!

Once the meat is cooked it can be taken out of the gravy put on a plate and covered with cling film to keep it moist.

The rest of the filling can now be added to the gravy to cook. I used around 1/2 Kilo of potatoes in big chunks, a couple of carrots cut up in big chunks a couple of medium sized onions roughly sliced and about 250g of baby button mushrooms left whole. Just chuck the whole lot into the gravy and then put back into the oven at 175°C/350°C for about an hour or until your potatoes are just cooked through.

The Pastry

I used short crust this time around. You could use puff (bought from the shop is fine) or rough puff. if you have a favourite recipe for pastry then you could use that. For two pie lids I used roughly 1 kilo of flour, so adjust your recipe to suit. I rubbed in 375g of butter to 1 kilo of flour with a couple of level teaspoons of salt added. I would normally use some lard (300g butter and 75g lard) however I had run out so to the mixture I added a couple tablespoons of beef suet. In the end it worked rather well!

Once the fat is rubbed into you flour add enough cold water (I throw a couple ice cubes in the water to really chill it) to just bring the pastry together. briefly knead and then wrap in cling film and leave to rest for at least twenty minutes.          Making Pastry


Creating The Pie


While your veg is finishing cooking make a thick roux by melting roughly 55g of butter in a heavy based pan. Once sizzling add approximately 2 tablespoons of flour and stir for a minute until you have something that resembles golden brown putty. Put to one side. This will be whisked into your gravy to get a perfect consistency.

select your pie dishes and break the meat up into them. I like to leave it fairly chunky.

Using a slotted spoon remove your cooked veg from the gravy and place among the meat.

Beef Pie Filling

Put the gravy back on a gentle heat. You can now add any extra flavourings you want. I added a generous splash of Worcestershire sauce. You want a nice thick gravy for your pie so whisk in the roux you prepared earlier, a little at a time until you have the desired consistency.

Ladle the gravy over your pie mixture. You want some of the filling to be peaking out so the pastry has something to sit on top of. You should have a little gravy left over to serve along side your pie.

Roll out your pastry to cover your filling. It wants to be just under a centimetre thick. Place the pastry over the pie dish. don’t stretch it over. You want a bit of give to allow for the pastry shrinking. Trim the edges and put a couple holes in the middle to allow steam to escape. Decorate with the excess pastry if you want and then generously egg wash the pie topping.Beef Pie Lid

The pie now needs to be cooked for 50 minutes to an hour on 195°C/380°F   (if using a fan oven reduce the temperature by about 20°C/70°F).              Once your pie is golden brown and your filling red hot the pie is ready, however it will benefit from being left for fifteen minutes or so before serving.

We had ours with Mushy Peas (or as Pete called them ‘Steeped Peas’) and gravy.

Plated Beef Pie Pies don’t come much better than this and when you have the fantastic company of an old friend it makes for a memorable meal!

 Pete & Pie!

Oh… and Mick, that beef… simply the best!


Pack Up!

The Kids are back at school which means we’re back to the dilemma of “what shall we give the kids for their lunches?”.

school pack-up blog Except it’s not really that much of a dilemma. As a family that cooks a lot of food, we just cook… more!

Neither Kit nor myself have the patience to be making sandwiches for four hungry children every morning & to be honest I don’t think that eating bread every day in that quantity is a particularly good idea.

So, we are setting our Kids up in readiness for the life of a student! We find it so much easier to pack them off to school with a container of cold curry, rice and a dollop of yoghurt or a wedge of cold pizza. We’ve even sent them with leftover Beef Pie, mushy peas & gravy!

Beef Pie Packup Blog

All you have to remember is that when you do cook, cook that little bit extra.

Our Children have never complained about having leftovers & always look forward to the delights that lie within their lunch-bags. The Teachers (and Caretaker who sometimes gets roped into the lunchtime supervisor role) always comment on how lovely the food our Kids take looks. At times it seems they are quite jealous & complain that they’ve only got manky sarnies for their lunch!

Dj Packup blogWe recommend getting a load of plastic take-away containers in for pack-ups as they are ideal for portioning leftovers into and refrigerating or freezing until needed. We get ours from the Chinese supermarket – a pack of 250 usually sees us through a few years!

So if ever you are looking at a recipe and think crikey! That seems like a lot! Just think of the hassle it will save you of having to make up the kids lunches… or even your own!

Holidays Are Coming… Holidays Are Coming…

The countdown to Christmas has begun & it’s only September!!!

Ok, it probably started around August time with us. That was when I first turned to ‘Ome & asked ‘What are we having for Christmas dinner then?’. His face was a picture!

I then pointed out the fact that before we realize, it will be 4 weeks before the Birthday celebrations & we won’t have even started making the presents, the Birthday pudding will be nonexistent (like last year…we had to, umm, BUY ONE! AAAArrrghhh!) & we’ll still be having debates, arguments & bottom lips stuck out over what we’re having for dinner.

So here we go. ‘Ome wants wild boar, MissT wants ham, Dj wants turkey. CurleyE wants duck wraps & Lil’MrM wants ‘Macerwoni cheeeese!’. I want a holiday & a large mug full of ‘Ome mulled wine.

crimbo turkey blog
Last year… Turkey!

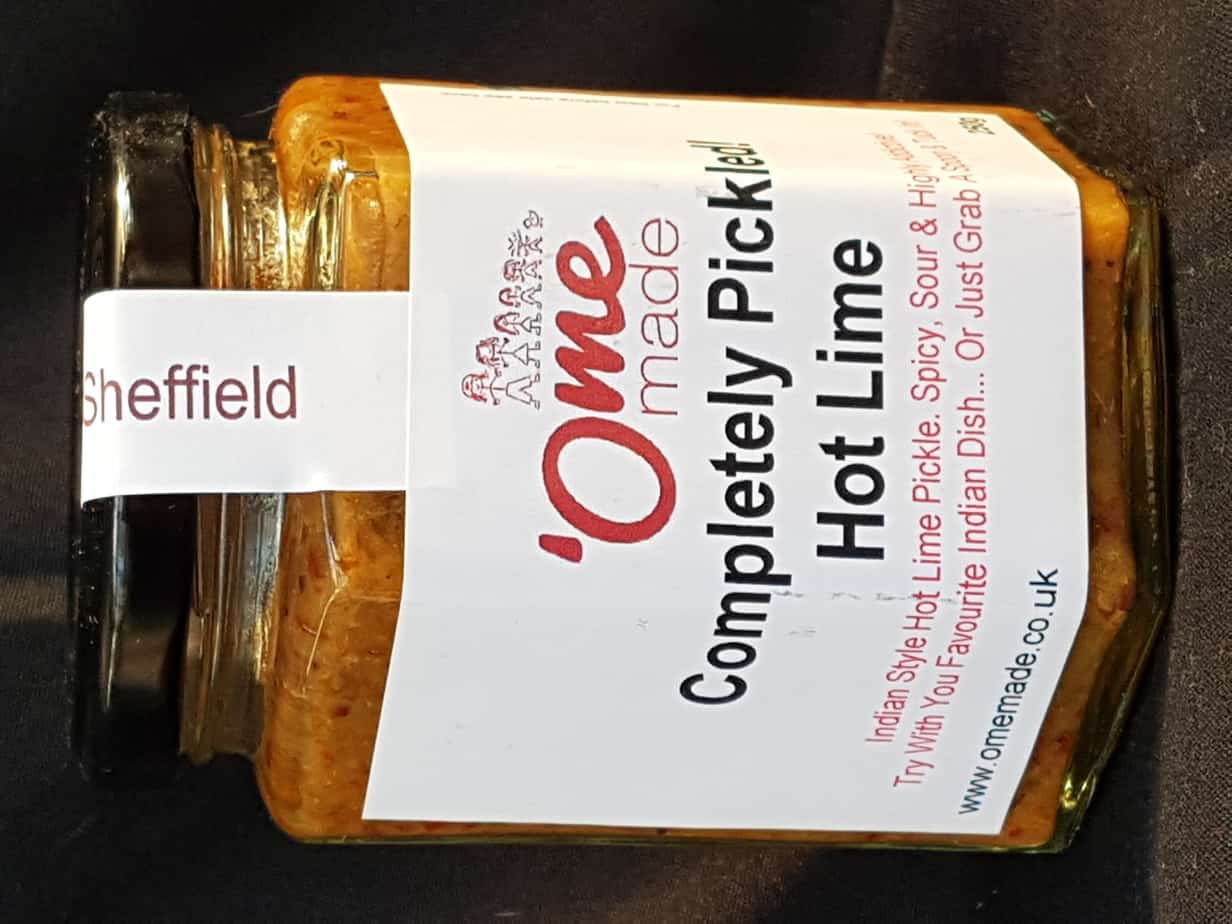
‘Presents’ I ask ‘What are we doing for presents?’ cue an hour long reminisce about all the stuff we’ve made over the years & how yummy the stuff was….the ‘Ome Made rum soaked dried morello cherries were a particular favourite as was the ‘Ome Made lime pickle & mango chutney.

So, are we any closer to a happy medium that pleases everyone for Christmas dinner? Nope!

Did we have any new ideas for presents? Nuh-uh!

So in October when the adverts start on television for the latest expensive toys, games & gadgets & the shops are putting up their decorations, we’ll be sat there moaning that Christmas is light years away & will they stop making this special time of year into a time of greed & selfishness. It should be a time for celebrating the birth of Jesus, goodwill to all, giving gifts with thought, mulling your wine & pulling your crackers.

Then we’ll realize that ‘S***!, we haven’t even started yet…..Buy a pudding QUICK!’


Kit x

Giant Christmas sausage & cranberry roll

Peter Piper Picked A Padron Pepper…

And it nearly blew his head off!

Well maybe not. Allegedly one in every thirty, or twenty % padron peppers is a hot one. So eating them is a bit like playing Russian Roulette… but with peppers.

For those that don’t know Padron Peppers are little chilli peppers that grow in the northwest of Spain in an area called, well, Padron of course.

I first heard of them when Rick Stein was doing his series on Spain. He cooked them the classic way, in olive oil until blistered and then sprinkled with sea salt.

I thought then that they looked delicious but that was a couple of years ago and it is only now that these little tasty morsels seem to be readily available. In fact they seem to be the new craze!

They are incredibly tasty, and generally not spicy. However it’s great fun when you get a spicy one and there is no way of telling!

We simply cook them gently in olive oil until the skin starts to blister and small flecks of charred flesh appear. They are then spooned into a bowl and sprinkled liberally with salt.

The bowl is then handed round the table and we all take one. The kids always look a bit apprehensive just in case they have picked one of the hot ones. It’s great to watch them gingerly take that first bite!

We always give the children a little pot of Greek yoghurt on the side which they dip their pepper into. And of course it helps if they do happen to get a hot one!

I whole heartedly recommend anyone to try these peppers. They really are tasty and such a simple little treat to prepare as a snack, simple starter or a full Tapas blow-out.

Just remember as they say in Spain; Os pementos de Padrón, uns pican e outros non, Padron Peppers, some are hot, some are not!

padron pepper blog

Hands, Knees & Bumpsy-Daisies….

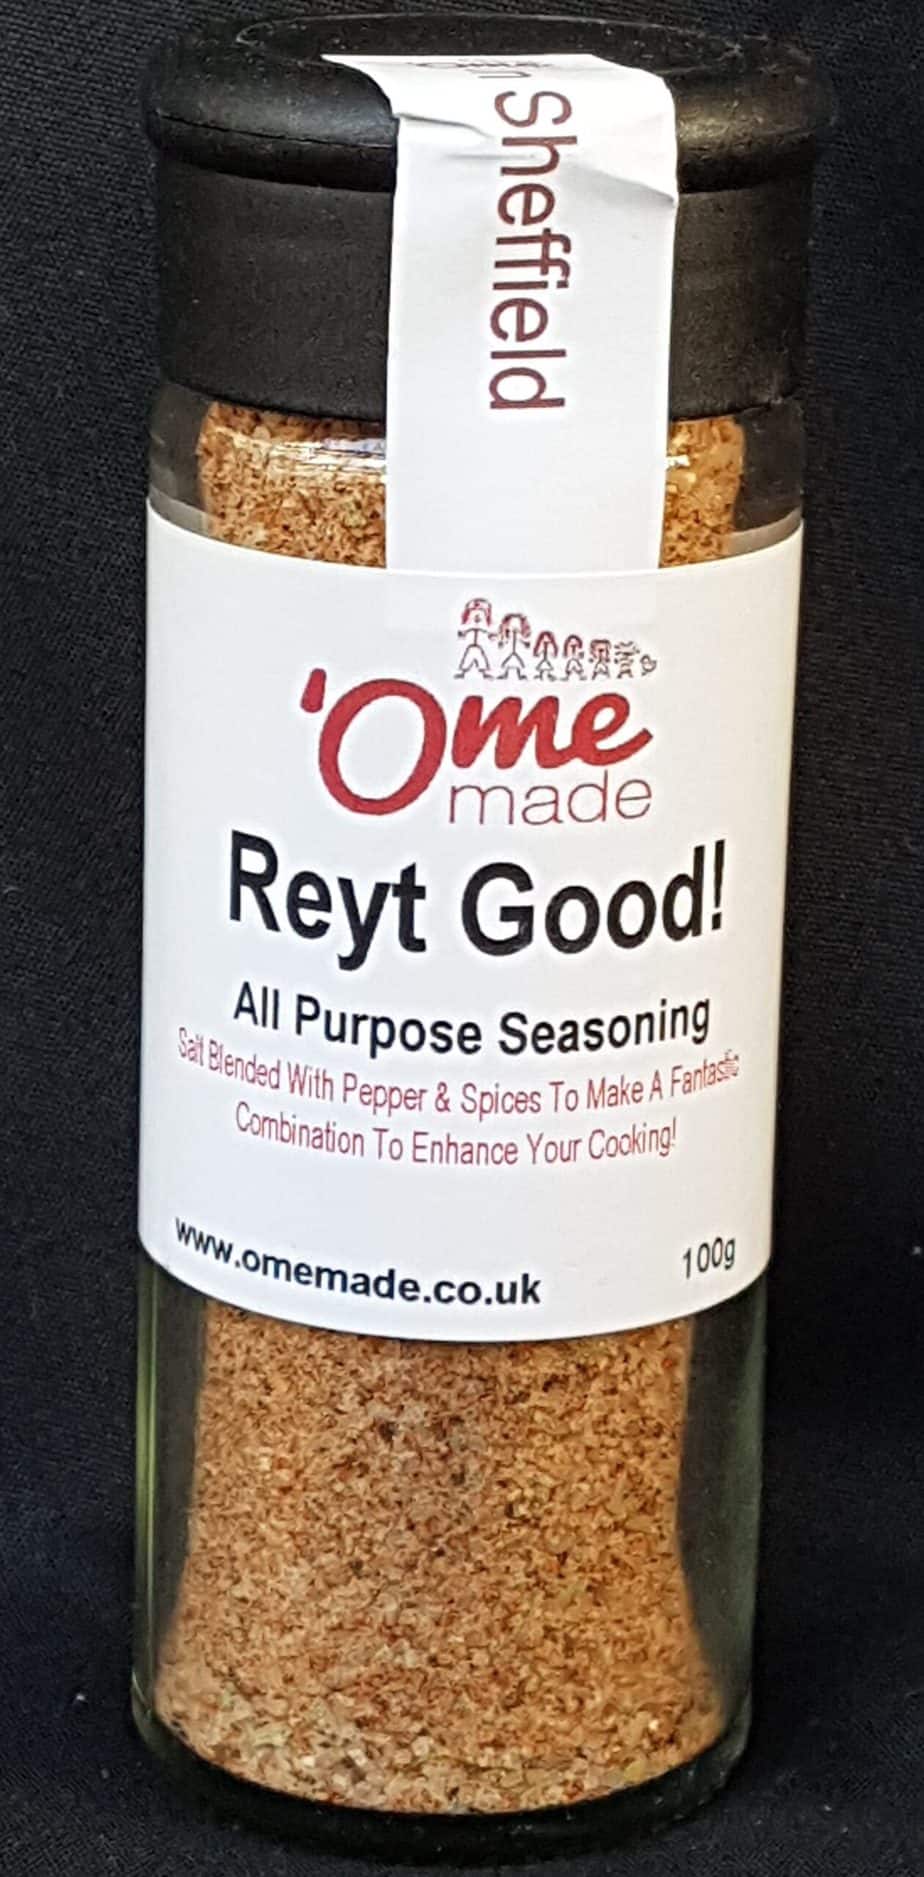
Reyt Good All Purpose Seasoning by Ome Made

After a week of banged heads, broken teeth, teeth going through lips, split chins, bumps and grazes I’ve decided never to take our Kids out of the house again!


Trying to get 4 children (one badly injured) with 4 scooters on a bus with only a £20 note to pay the bus fare with so that we can get home, get in the car and get to the dentist to fix Lil’MrM’s tooth was, I have to say, a bit of a trial. Why do these things always happen when ‘Ome’s not there??!!! I’m good at these kind of situations when it’s someone elses kids but I panic & crumble when it’s my own. But to give the Kids their dues, they were fantastic whilst Mummy had a total breakdown. Oh the joys of being a parent!


I then retreat into my veg patch, large glass of wine well within reach and thank the last of the garlic, the sorrel, beans and courgettes that need picking, the beetroot and swede that have survived their late start and flowering pumpkin plants for not causing me any grief, stress or tears.


I have to admit I did feel a bit tearful when I decided I’d have to chop down the borage plant. It almost signals the end of summer.

borage blog

It was so easy to grow it was astonishing. From 1 plant hundreds of flowers have been picked since May and added to salads, frozen in ice cubes and ice lollies, added to drinks (Pimms for us!) and generally used as Pick-Your-Own snack for the kids. Happy memories of summer.


It’s not all sadness though because when cut down, chopped up a bit and dug into the veg patch it will serve a further purpose by enriching the soil in readiness for more plants to grow as strong as the borage was.


Come next spring I can guarantee borage will be the first on my list to be sown in time for warmer weather, water fights and ‘Ome Made Pimms on the lawn!


Kit x

To Sow or Not To Sow…

Right! I realized the other day that I wanted to try growing some swedes & beetroot…… Looking at my ‘Bible’ of ‘What to Sow, Grow, Plant-Out & When’ laminate on the fridge (yup, I am that sad!) I realize I’m possibly a tad too late. Never fear, my almost convincing & almost believable ‘logic’ kicks in.

Now, apparently, to grow said two items of rooters you usually sow the seeds, straight into the ground outside, up to the end of July. Well, it’s now August…quite a way into it. So I’m figuring if I sow the seeds into pots, leave them on a sunny windowsill & let them have a ‘speedy start’, then plant them out, I may well get away not doing what my ‘Bible’ laminate says.

So this I did & lo & behold, two days later my little seeds  are sprouting!veg planting guide blog

It’s now been a week since I did this (If it hadn’t worked this would be a MUCH shorter blog entitled ‘Don’t Let Hungry Kids into Your Garden, They Think It’s An All-Day-Buffet’ or ‘Where Have All The Raspberries Gone Kids?’).

I’m giving them a couple more days to allow the roots to strengthen (the seedlings NOT the kids) & then I’ll be planting them out into the patch.

Then all I can say is watch this space! There may well be swede & chilli mash & beetroot soup when harvest time beckons….. or,  tears before autumn… hmmmmm…


Kit x

Venison Chilli

Our Butcher sometimes gets some very nice wild venison in. When he does we always make sure that we get some venison neck in, we usually buy quite a bit for the freezer. Venison neck when cooked long and slow is great. It makes fantastic curries but this was a first for us. I can honestly say though that this chilli was one of the finest I’ve ever tasted!venison chilli blog

We put this in the oven at 165 C and then turned it straight down to 115 C and there it stayed for a good eight hours! I don’t see why it couldn’t be cooked for less time on a higher heat though? I would say that at 165 C for four hours would be fine, any less I would expect the venison not to be quite so melt in the mouth.

This recipe gives a medium (to us!) heat level. Although our kids like spicy, too hot and they start to grumble. Kit and myself simply added some ‘Ome-Made Chilli Sauce to ours.

If you can’t get venison neck you could always do this recipe with chuck steak or even beef shin would give a good result. There is no reason why you can’t even stick to the traditional minced beef.

You will notice that the recipe makes a lot but if your going to have the oven on for that amount of time you may as well do extra! It freezes and reheats well so gives some hassle free meals in the future.

Venison Chilli (makes approximately 12 portions)

1 kilo/2lb Diced venison (or meat of your choice)

500g/1lb dried beans (I used red Kidney beans and pinto beans) soaked over night or couple tins of beans of your choice

4 big fat cloves of garlic, choppedvenison chilli cooking blog

3 medium onions

3 teaspoons ground cumin

3 teaspoons chilli powder (I used 1 standard hot, 1 new Mexico and 1/2 of bhut jolokia but not everyone has these hanging about in there cupboards)

1 tablespoon dried oregano

1 large glass of red wine (or anything else ‘moist’, beer, lager or even cola), don’t forget one for yourself too!

2 tins (280g in total…ish) tomato puree

1 400g tin chopped tomato

2 tablespoon sugar (granulated will do)

3 beef stock cubes or 1 tablespoon beef bouillon or some strong beef stock (approximately 1/2pint/280ml)

50g of seriously dark chocolate (at least 70% but I used 85%)

Plenty of freshly ground black pepper and salt to taste


Method

Drain and rinse the soaked beans put in a pan, cover with water and bring to the boil. Boil for ten minutes then drain.

Heat 2 tablespoons oil in a large pan

Fry the garlic and onion until soft

Add the spices and continue to fry for a couple minutes, if they are catching add a splash of water.

Add your meat to the pan and brown, stir in the oregano and season with salt and pepper.

Add your wine or beer (if you haven’t drunk it all yet!) and whack the heat up to reduce the liquid to a nice thick consistency.

Reduce the heat and add your tomato puree and cook for 2 minutes or so now add your tomatoes, sugar, stock cubes (or stock) and par-cooked beans (if using tinned add an hour before serving) and enough water to cover everything + 1/2 inch, bring to the simmervenison chilli chocolate blog

Break your chocolate up roughly (remembering to taste to check for quality!) and sit on top of the chilli, let it melt slowly before stirring it into the liquid. now put a lid on the pan and put into a pre-heated oven at 165 C/330 F and then turn down to 115 C/240 F where it will stay for eight hours (or less if you decide to cook on a higher temperature, see above)

Go and enjoy the rest of your day knowing that all you have to do for tea now is cook a bit of rice!


Pimms, Friends & Slow Cooked Lamb


We hadn’t seen a friend of ours (an old neighbour) for a while, and we still had half a bottle of Pimms in the pantry that he had bought up on his last visit!

We seemed to be having a good run of weather so we thought it was time to invite him round for Pimms and a bit of decent nosh.Pimms! Blog

We decided to do slow roasted lamb, Middle Eastern style with Turkish salad, Tzatziki, ‘Ome Made Chilli Sauce and pitta breads.

I started the lamb off in the oven but finished it off in the smoker which gives it an incredible flavour. There’s a video on the Blog and You Tube (OmeMadeByUs) of me preparing the lamb (if you want a chuckle!)

We also had lots of Pimms which was great because we had plenty of fresh Borage leaves and flowers to put in (so much better than cucumber!)borage blog

So here’s the recipe for the lamb;

Slow Roasted Lamb Middle Eastern Style

1 x whole shoulder of lamb (leg works as well, but I prefer shoulder for slow cooking, you could also get a half shoulder but the leftover meat is great to use in other dishes)

Marinade (don’t be scared to experiment with these ingredients, they’re only a rough guide)

garlic 3 – 6 cloves (depending on taste) finely chopped/crushed

ginger – 1 inch piece finely chopped

chilli powder 1-4 teaspoons (again depends on taste)

Cumin powder 3 teaspoons

cinnamon 1 teaspoon

all spice/pimento 1 teaspoon

dried mint 1 teaspoon

2 teaspoons of saltlamb flatbread

lots of black pepper (grind until it hurts!)

Juice from a lemon (and zest) or two table spoons bottled lemon juice

1 tablespoon oil (I tend to use olive for this but anything goes)

Method

Mix all the marinade ingredients together (you can use ready bought Ras el hanout mix instead of the individual spices if you want).

Slash the meat with a sharp knife so the flavours penetrate the meat and then rub in the marinade… vigorously! Go on slap it on! The meat would benefit from being left in the marinade overnight if you have chance to prepare the dish a day in advance.

Put the meat in a roasting pan with a couple tablespoons of water and then cover tightly with tin foil (it’s sometimes a good idea  to use two pieces)

Put in the oven at 165 C/330 F  to be ready after 6 hours or 145 C/290 F to be ready after 8 hours (either way you could leave it for a couple hours longer and it will still be fine).

This is a great dish to do if you are out for the day or at work and you want to come in to have something practically ready to eat!

This has to be one of our household favourite meals. It’s like an up-market kebab! I don’t remember having Pimms before my late night kebab when I was younger though!

Smoking!

you may have noticed that there are a few references to slow cooked smoked meats on the Blog. You wouldn’t be wrong.

I recently acquired a big American style smoker/BBQ and it’s been getting a fair bit of use.slow roast lamb blog

I love proper American food, I’m not talking McD****ds or K*C here but big hunks of meat coated in secret dry rubs and cooked slowly for hours on end. Pulled Pork, sticky ribs, slow cooked brisket even a humble chicken simply seasoned and cooked in the smoker for three hours is transformed into something remarkable.

And then served with sour cream, chilli sauce, bbq sauce with a multitude of different “slaws” to go with it, quality.

I even like a simple beef burger, ‘Ome made of course! Given the right treatment, a nice cheese or two to top, gherkin, onion, tomato and some nice crisp iceberg and some lovely, mustardy mayonnaise (which has to dribble down your chin!) and of course a good squirt of ketchup. Burgers can, and should, be good and a real treat to eat.

Anybody remember a certain burger I created?

So yes there maybe some recipes for smoked meats or BBQ food on the Blog, that doesn’t mean that a conventional oven can’t be used. However I can recommend getting a smoker, it is such an enjoyable and slightly addictive way of cooking!

‘Ome-Grown Onion & Garlic the lazy way.

Growing your own fruit & veg can seem very daunting & hard work but, believe me, it isn’t!

I put my hands up & admit I am the laziest gardener ever. I break all the rules but somehow manage to get results.

I found the easiest way to get started is to choose something to grow that doesn’t take much maintenance….for me tomatoes wasn’t it! What the hell are the side shoots I’m meant to be pinching out?! Why are the tomatoes the size of bumble-bee baubles??!!! Why aren’t they turning red???

So I started with garlic & onion. Dib a few holes in your ‘plot’ in September, October or November, stick in your onion & garlic thingys & then leave alone. Depending on how cold it gets (I seem to find that the colder the winter the better the crop) you’ll be harvesting your crop in June, July & August time. The only hard work is pulling out a few weeds in springtime. You can grow loads as well as when you pull it up you can tie it together with string & hang it outside. When it rains it will wash all the muck off & when it’s dry & sunny it will dry the outer skins & then it can be stored in a cool, dry place. See, hardly any work or fuss or stress.Ome grown garlic blog

The satisfaction of cooking with your own freshly pulled garlic & onion is fab. Also, try pulling up a garlic thingy in February or March time (this is called ‘Wet’ garlic), chop it up & add it to any naan bread you are making…AMAZING!

Finding that I actually enjoy growing, cooking & eating our ‘Ome-Grown stuff & I became brave & moved onto the hardened gardeners stuff……..I’ll be getting a poster of Percy Thrower to adorn my bedroom wall next 😉


Kit x