B.I.R Curry Powder

BIR Curry Powder

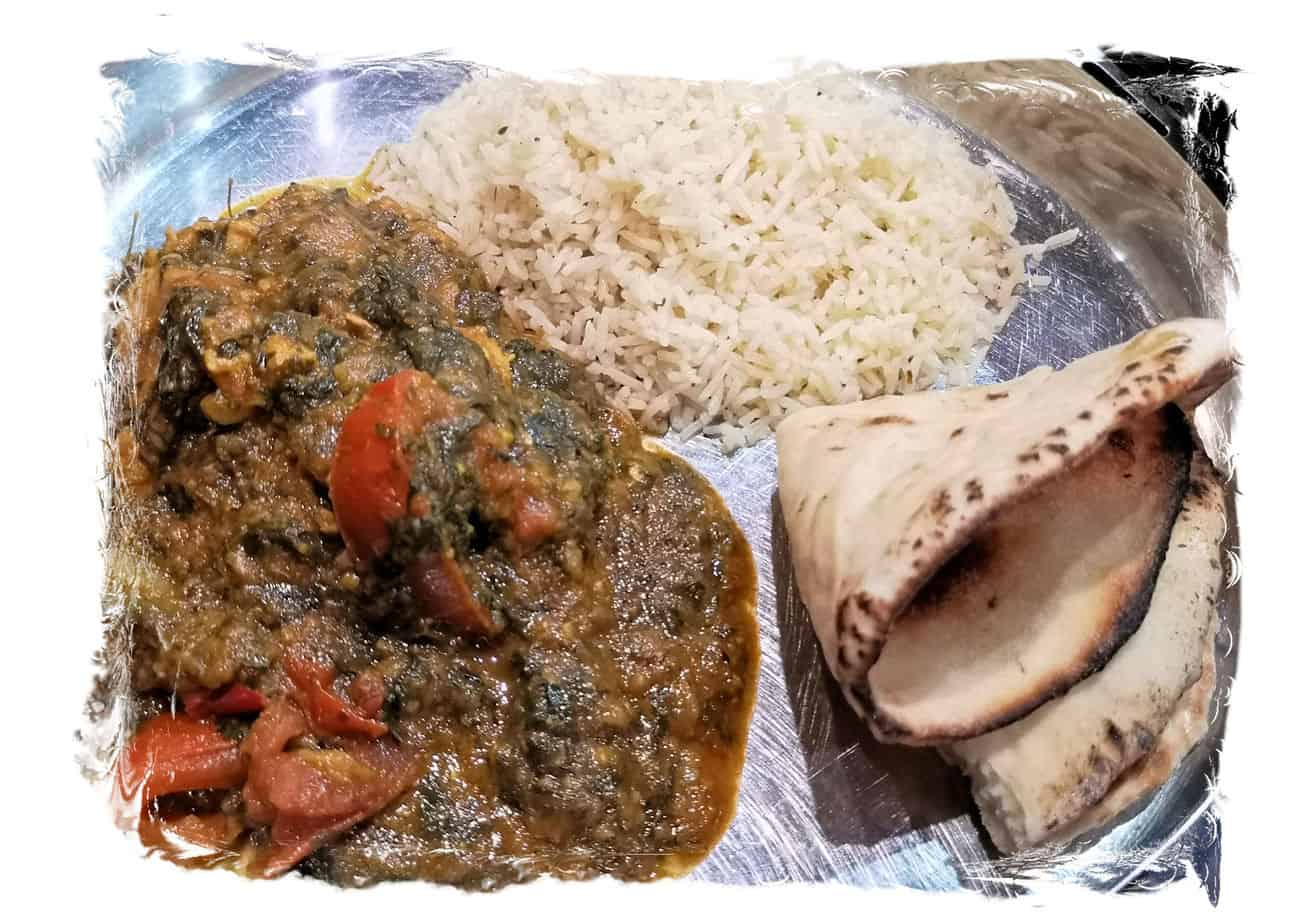
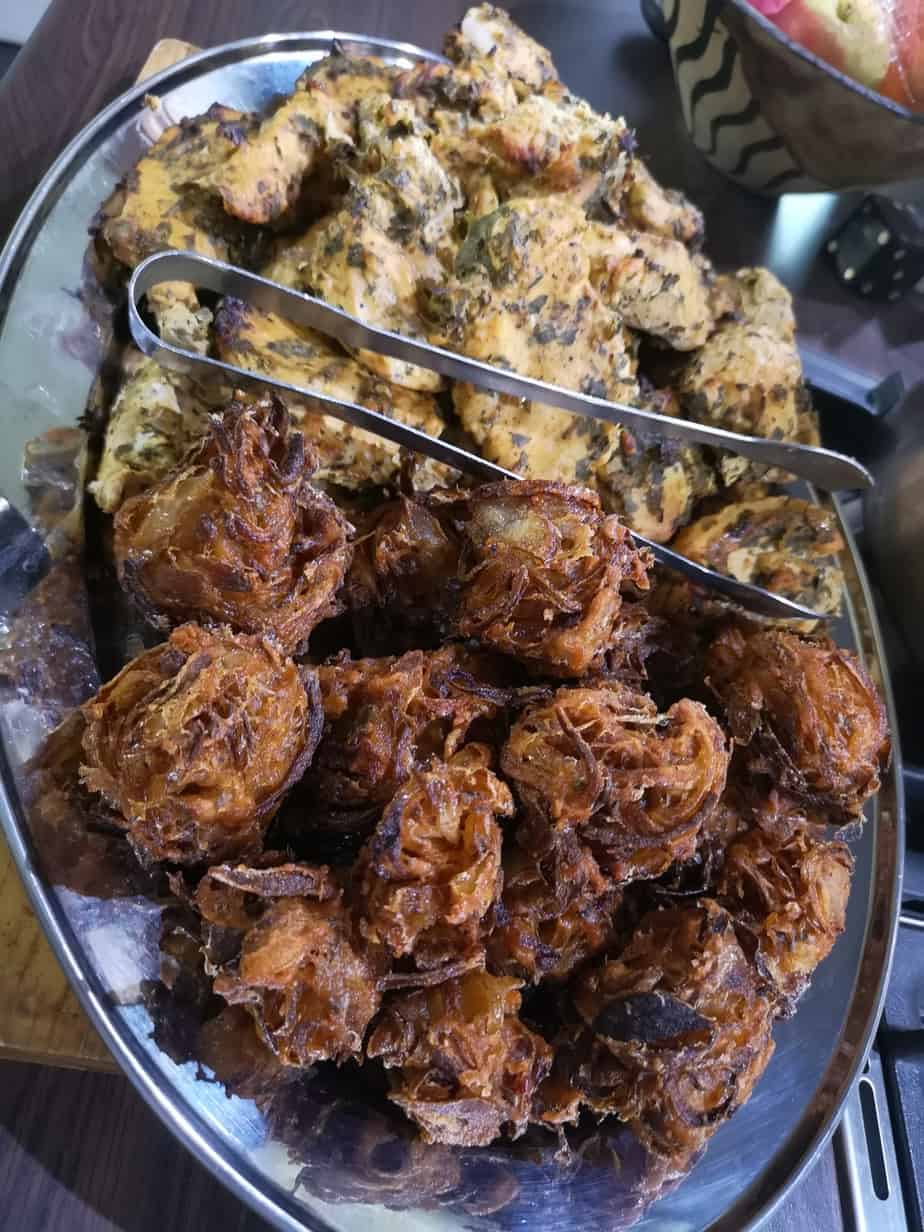
B.I.R (British Indian Restaurant) Curry Powder, Masala or Mix powder are all terms which come up when discussing the cooking techniques for curry from British restaurants and takeaways.

Most curry houses will use a basic curry powder or masala, often referred to as Madras curry powder plus a special, secret spice blend know as ‘mix powder’.

The reason for this is convenience. When making large amounts of dishes, using individual whole and ground spices in each dish, as traditional recipes do, when making 300+ covers a night would be impossible to do consistently.

So Why Use A Curry Mix At Home?

If you want to recreate the flavours of your favourite Indian Takeaway at home then using a pre-made B.I.R curry powder is one way of doing that. It’s also convenient plus you may not have time to make your own curry powders or you find getting all the right ingredients to much trouble.

Of course you can make your own. There are plenty of recipes on how to do that in books and on the internet.

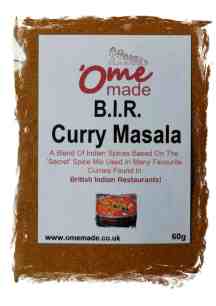
‘Ome Made B.I.R Curry Masala

If you don’t want to make your own curry powders or you want something convenient for when you run out of your own, we have some thing that is perfect!

B.I.R Curry Masala

Our B.I.R Curry Masala is based on a Madras type curry powder but with some of the spices that go in to a restaurants special mix powder added. We literally went through 100s of recipes to find a happy medium of spices that gave consistent results that we tested with great results at home.

‘Ome Made B.I.R Curry Masala has a mild, balanced flavour which enables the flavour of your added ingredients shine through.

B.I.R Curry Masala can be used in any recipe that requires curry powder. Or if a curry recipe specifies individual spices B.I.R Curry Masala can be used in their place. You can also use our masala for B.I.R recipes that specify a curry powder and mix powder, just replace the quantities with our B.I.R Curry Masala.

Buy ‘Ome Made B.I.R Curry Masala Here

For more recipes and ideas on B.I.R curries check out our Blog http://www.omemade.com/British-Indian-Restaurant-Curry.

Have a look at the full range of ‘Ome Made products here.

Pulled Pork. How To Do It & Make Chilli With The Leftovers!

Pulled Pork… I do like cooking meat the low and slow method. It allows you to play around with so many flavours and you also get the rest of the day free! You also get to make great food with the leftovers. Read on for a great Pulled Pork Chilli!

Pulled pork is no exception. It can be done on the BBQ, in the oven or in a slow cooker.

Although I would prefer to cook pork for pulling on the BBQ, the British weather isn’t always ideal and I’m not one for ducking in and out of the rain just for a piece of meat!

So what is the best cut of pork for Pulled Pork? Most people will be able to get a piece of shoulder from their local butcher or supermarket and this is fine for the job. Make sure you take the rind off and cook that separately for some crackling! However the best piece of pork, if you can get hold of it, is a cut referred to as Boston Butt! This is the American name for the cut, however in good old Blighty it is called pork crop. Ask your local butcher, they may just oblige!

Pork crop for pulled pork rubbed with 'Ome Made BBQ rub from www.omemade.co.uk
Pork crop or Boston Butt rubbed with ‘Ome Made BBQ Rub-a-Dub-Rub

We are lucky to have a pig farmer just around the corner from us. Their pork is sublime. If you are in the Sheffield area you really should try and get hold of some. They are Moss Valley Fine Meats if you want to look them up.

So now you have your meat you need to decide how to flavour it. Most people will opt for a traditional BBQ flavour. In this cook I used ‘Ome Made BBQ Rub-a-Dub-Rub to rub on to the pork before it was cooked. If you can do this the day before it will help the flavours penetrate the meat. You could opt for other flavours. In the past I’ve done it Chinese style and of course South American flavours work brilliantly.

Now you need to decide how to cook it. I’m not going to talk about cooking it on the BBQ in this post, I’ll save that for another time!

To cook in a slow cooker simply put in the slow cooker with a little liquid. Apple Juice works well. For a kilo piece of pork you will be looking at 4.5 to 5 hours. Personally I would finish it off in the oven with a glaze of BBQ sauce or some apple juice, maple syrup or honey and a splash of bourbon!

To cook pulled pork in the oven you want the oven temperature to be 120°C – 125°C. Place your pork in a roasting pan. Place a little baking sheet or greaseproof over the meat, if you have it, and then cover the roasting pan with tinfoil, crimping to the edges to create a seal. for 1kg meat you are probably looking at around 4 hours. For 2kg about 5.5 hours cooking covered. after this time you need to uncover the meat. Take the meat out of the pan and drain off the juices then put the meat back in the pan. Turn the oven up to around 160°C – 165°C. you can now baste the meat with whatever you want. I used a mixture of apple juice, maple syrup and bourbon. Put back in the oven and every 20 minutes or so give it a baste. You could baste with BBQ sauce, Sweet Chilli Sauce or even reduce the cooking juices down with a bit of dark sugar or honey a little vinegar and soya sauce and use that. after an hour or hour and half if you have a larger joint the meat should be ready. Carefully take the pork out of the roasting tin and wrap in baking or greaseproof paper and tin foil. the meat now needs to rest for at least 20 minutes after which time you can pull it apart with a couple of forks. You can now add more BBQ Sauce Chilli Sauce or leftover juices to the pork before serving.

[ngg src=”galleries” ids=”4″ display=”basic_slideshow”]

Personally I like to serve it in some bread of some sort, with some pickled veg, cheese, jalapeno chillies and some fries on the side. Awesome! You could serve with some good old ‘Ome Made Baked Beans! Follow the link for the recipe.

Of course the best thing about pulled pork is that it goes a long way and you always end up with leftovers. If you don’t you need to buy a bigger joint!

One of our favourite things to do with the leftovers is a Chilli.

Here’s a simple recipe for a really tasty Pulled Pork Chilli!

Gnocchi-Wocky-Doo-Dah!


Every now and then when we ask the kids what they want for tea they answer with something that strikes fear into me!

Gnocchi is one of them!

They love potato gnocchi and indeed so do I, however, making gnocchi for six hungry people, it’s one of the more… shall we say… time consuming dishes!

However sometimes you just have to and for all the time it takes and mess it causes the end result is always worth it.

Of course you can always cheat and get your gnocchi ready made from the supermarket!

I have to say that I’m not keen on gnocchi when it’s boiled and served in a sauce… it just doesn’t do it for me. However we do love it when it’s gently poached and then fried in butter so it’s nicely caramelised and slightly crispy. It makes an Epic! (Kids description!) side dish when served like this.


I had bought some nice Tuna steaks that had been on special offer and as we don’t have Tuna very often I thought they deserved something a bit special. It was decided that we have them with gnocchi and some chick peas tossed in a nice lemon, butter sauce flavoured with just a touch of cumin.

When I make gnocchi I have to say I normally just wing it! I add flour, egg and a touch of baking powder to some mash potato (usually leftovers!) and hope for the best!

However here is a recipe for those that don’t want to take the risk!


Ingredients;


6 large potatoes peeled and cut into four

1 medium egg

3 handfuls plain flour

1/2 teaspoon baking powder

pinch of salt and pepper


Method;


Place the potatoes in a pan and just cover with salted water. Bring to the boil and then simmer for approximately 45 minutes or until the potatoes are cooked.

Drain the potatoes well and put back in the pan, leave for a couple of minutes for the potatoes to dry out a little then mash or put through a potato ricer.

In a large bowl whisk the egg and add the seasoning and a splash of water. Add the rest of the ingredients to the bowl and mix together until you have a soft dough. If it’s too wet add a little more flour, if it’s too dry add a splash more water.

Divide the dough into four. Take one piece of dough and on a floured board roll into a long sausage shape. Use a blunt knife to cut the dough making  little pillow shapes. place the dough pieces on a floured tray. Repeat with the rest of the dough. Once all the dough has been used up, place the tray with the cut dough on it in the fridge for ten minutes or so to firm up.

To cook the gnocchi bring a large pan of salted water to the boil. Carefully drop the gnocchi in and bring back to the boil, turn down to a simmer and cook for a couple minutes or until the gnocchi floats on the surface of the water.

Once cooked the gnocchi can be drained and either tossed in a sauce or coated in a little oil to either serve later (just drop into boiling water to warm up or heat in a sauce) or be fried. To fry the gnocchi melt some butter in a frying pan and when sizzling drop in the gnocchi, keep turning until the gnocchi are nicely coloured and golden.

We had our gnocchi this time with a nice seared tuna steak and a simple sauce consisting of a little onion and garlic sautéed in butter with chicken stock, a splash of white wine, zest and juice of a lemon, cooked chick peas, ground cumin and finished with yet more butter!


A simple salad of chunky tomato, cucumber and onion drizzled with a little vinegar and a pinch of sugar and seasoning is all that was needed for a superb tasting, Mediterranean style dish.

Dj’s SҠool DiИɳɘr Experience


So, for 1 week only, Dj requested to have school dinners. He was mainly tempted by the change from  the ‘normal’ menu to ‘International Food Week’.

A week of dishes from 5 different places in the world.Dj Blog 7

We asked him if he’d like to write a blog on his experience & he jumped at the chance.

Everything that follows (apart from the actual Menu bit) is word for word that Dj wrote….we just corrected the spellings & some punctuation  to make it easier on the brain for you good people.


Dj Blog 1

Monday: French

Croque Monster, avec Pomme Frites et Harico

Tart Tatin with Ice Cream

I liked the cheese & ham baguette but the bread wasn’t as good as Daddys’.

I didn’t like the chips or the beans because the chips were soggy & the beans are out of a tin, unlike daddys, he makes his own.

The pudding was nice & my friend went mental on it.

*******

Tuesday: Caribbean

Chicken Stew with Rice & PeasDj blog 2

Sticky Ginger Bread

I liked the sticky bread but if my Daddy made it, it would be better, & I didn’t like the chicken stew & rice & peas because the peas weren’t in the rice & the chicken was soggy.

The pudding which was sticky bread was nice.

I don’t thinks that’s a Caribbean.

*******

Wednesday: Portugese

Portuguese Cheese Flan with Half Jacket, Coleslaw & Sweetcorn

Vanilla Biscoitos with Ice Cream

Dj blog 3Today I had a cheese flan with half a jacket potato.

I liked none of it because the cheese was cold & yucky!

The jacket potato was yummy but it didn’t have any butter on. The sweetcorn was nice like any other persons.

The pudding was fab & my friend liked it & I loved it too!

& there wasn’t any coleslaw.

*******

Dj blog 4

Thursday: Indian

Chicken Curry with Boiled Rice

Ice Cream with Chocolate Sauce

Today I had curry & I liked the curry & I don’t mean the rice & today the chicken was better than Tuesdays because the chicken that was in the stew was soggy but todays one was better.

The pudding was really nice & it was ice cream with chocolate sauce.

*******

Friday: Italian

Dj Blog 5Margarita Pizza with Potato Wedges & Sweetcorn

Iced Lemon Sponge

Today I had margarita pizza with soggy chips.

I liked the margarita pizza but Daddy’s ‘Ome Made pizza is 10 billion, trillion times better.

Todays pudding was sponge with grated lemon in & I liked it but Daddy’s ‘Ome Made lemon drizzle cake is better

*******


Dj Blog 6

That’s the end of my Blog.

Thank you for reading it.

Love Dj  XXXXXX

************

After reading Dj’s blog we know that some of you lovely people will be thinking ‘Yeah, well your Kids are lucky (& probably spoilt) to get nice food at home all the time’, & yes, you’re right!

We do tell our Kids that they are VERY lucky to have a Daddy who can cook them fabulous dishes at home (sometimes Mummy does too!).

We also make our Kids realise that for other children this maybe the ONLY good plate of food that they get in a day. For some busy/working full time parents it’s easier & they know their child is getting a meal at school. For some parents it’s the affordable option & a lifeline for their children.

Could it be better though?

This is just Dj’s 7yr old  view of what he thought was going to be a fabulous week of school lunches. He did a fab job of sitting down everyday  after school & writing (most) of his thoughts on paper.

We can’t help feeling he was a tad disappointed with the meals….apart from the puddings!!!


Great  work Dj!!! XXXXX


Curried Bakers Oven Lamb

Here’s a traditional English dish given an ‘Ome Made twist, to be fair it was Kits’ idea. I was just going to do the plain English dish of lamb shoulder baked on top of layers of potato and onion, which in it’s own right is delicious. Add some spice, herbs and a curry sauce though and it takes the dish to a completely different level… This really was scrumptious! This is a fantastic dish to prepare the day before so that you can bang it in the oven the next day, forget about it and get on with all those things you need to catch up on, take the kids out or… go to the pub!

  It really is simple. You will need a full or 1/2 shoulder of lamb. Some White potatoes, onions and garlic. I also used some dried mint, fresh coriander and some red chillies.


First of all slice some potatoes (skin on) thinly and some onions. These need to be layered in a deep buttered baking dish. I did about four layers adding seasoning as I went along. On the middle layer I put a heap of chopped fresh coriander, a couple of chopped red chillies and some dried mint. On the top layer I sprinkled some more mint and some black cumin seeds.


I then fried some mild curry masala in a little oil and added some chicken stock and let this cook for twenty minutes or so. Next prepare the lamb. With a sharp knife make a few slits in the meat and push in some pieces of garlic. Now rub the lamb all over with some Kashmiri Chilli powder and some ground cumin. Sit the lamb on top of the layered potatoes and onions and give it a good grind of black pepper and a good sprinkling of salt. Pour your curry sauce into the corners of the baking dish. You want enough so that it comes about 1/2 way up your potato and onion layer.


Now cover the whole baking dish with a double layer of foil, creating a tight seal.


When your ready to cook pre heat your oven to 200°c. Put the lamb in the oven and then turn the temperature down to 165°c Which means the lamb will be ready after about four hours (but should be fine up to six). If you want to cook it for longer (or your having a really long session in the pub!) then you can cook the lamb on 145°c. The lamb will then be ready after six hours but be even better after around eight hours. To finish the dish off, remove the baking dish from the oven. Carefully remove the lamb to a warmed plate or dish. The meat should be falling off the bone. The layered potatoes then need to go back in a hot oven to brown and start to crisp up. If the liquid is above the potatoes just spoon some off ’till you can see the top layer. Put the baking dish back in the oven for about twenty minutes.


To serve, pull apart the lamb, spoon out some potato into a dish and place the lamb on top, spoon a bit more of the curry sauce over. A nice dollop of natural yoghurt goes nicely with the dish but that’s all it really needs.


A tasty, warming and comforting dish for a lovely lazy Sunday. Give it a go!


Don’t forget you can buy ‘Ome Made Curry Masalas at www.omemade.co.uk

Introducing…. Bob!

We have a new addition to the household!

Born on the 27th February 2014 we would like to introduce you to …. Bob!

Birth of Bob 2

Bob is a sourdough bread starter, or will be providing I can keep him alive for long enough!

I’ve made bread starters before but I’ve never kept them after they’ve made their first batch of bread. Bob however I intend to feed and nurture and see how long I can keep him going.

I have to say I’m not feeling confident. You see it’s all a bit scientific. Flour to water ratios, temperature, how much flour to feed, blah blah blah. I can’t be doing with all that so I’ll be truthful and say… I’m winging it!

For those of you who fancy having a go at ‘winging it’ too you will need some flour. I used some  strong white flour and a little malted grain. I used the malted grain because it has whole grain in it which, if I understand right, has more of the natural yeasts present which are needed to get your bread going. The malted grain also contained rye which again is supposed to make a good starter.

I put the flour in a tall kilner jar and then added water to make a paste the consistency of single flour. I then put the lid on and left it.

A couple of hours later he looked like this…

Birth of Bob

This is not good…

If I was a puritan I should probably have ditched the mixture and started again. However I’m ‘winging it’ so I chucked in a bit more flour, gave it a mix and left it.

On day 2 it looked better but still had water separating so I added more flour again. It did smell nice, a bit like beer, which is good… I think?

On day 3 he’s looking like this…

Bob day 3 full

Now to me that is looking quite healthy…

I guess only time will tell, watch this space…

Crispy Cornflake Tart… For An Old Fart!

Most people I know seem to remember this from their schooldays… I don’t! What a deprived childhood I must have had!

It’s one of Kits favourites. I remember her telling me about it and I was just looking at her with a vacant “what are you on about?” look on my face.

Then Kit turns up with a slice from a little buttie shop up the road “see! Cornflake Tart!”.

OK, I have to admit, looks like I was missing out.

Kits’ workplace has a thing about colleagues bringing something in on their Birthday so when Kits came round I suggested a Cornflake Tart… (Hence the title of the Blog… not that I’m saying Kits old, or a tart… can someone pass me a shovel please!)

This really is the easiest thing in the world to make. If you have Kids they’ll love it! However I don’t see why kids should have all the fun! Everybody loves a bit of retro these days, and when it tastes this good!

Recipe

Shortcrust Pastry

225g plain flour

100g cold diced butter

Pinch of salt

1 tbsp icing sugar

Mix the dry ingredients and then rub the butter into the flour until it resembles breadcrumbs. Add 2 – 3 tbsp iced cold water to bring the mixture together. Leave to rest in a cool (not a fridge) place for 30 minutes.

Roll the pastry out to about 3mm thickness and use to line a greased flan/quiche tin or shallow baking dish. Prick (snigger!) the base all over with a fork.

Place some baking paper in the tin followed by some tin foil and then fill with some baking beans. Bake in a preheated oven at 200°C for 15 minutes. After 15 minutes take out of the oven and remove the baking beans, foil and paper. Put back in the oven for 5 minutes or so until the pastry is cooked and beginning to colour then take out of the oven.

Warm 150g – 200g of jam (Strawberry is traditional but I used raspberry for that nice hint of tartness against the sweetness of the topping) once the jam has loosened up pour into the pastry case and carefully spread out to cover the bottom evenly.

Cornflake Topping

120g golden syrup

75g butter

30g caster sugar

120g cornflakes

Melt the butter, golden syrup and sugar together in a pan. Once melted and bubbling take off the heat and add the cornflakes. Gently but thoroughly mix so all the cornflakes are coated then spoon onto the jam filled tart case. Gently spread the topping out so it is even then pop back into the oven for 5 minutes or so to set and firm up. Remove from the oven.

The tart is best eaten warm with a good dollop of custard but is equally as nice cold on it’s own. Just don’t try and sneak some when nobody’s looking as you may find yourself in detention!

The Ultimate Beef & Potato Pie…


After a fantastic Summer the temperature has dropped and it’s looking a little gloomy outside… (although now I am writing this it seems Summer is making a comeback!) but that’s ok, it means it’s time to start cooking those lovely comforting foods!

And what could be more comforting than a big old fashioned Meat & Potato pie, or two!

Beef Pie

It was handy that our friendly butcher had just had delivery of a nice highland cross cow then (cross as in hybrid breed, not a bit ticked off!)

When I’m slow cooking beef for stews or pies I love to use the shin. After hours of cooking it is lovely and tender, sticky and sweet and it gives your gravy soooooo much depth of flavour and because of the gelatinous nature of the cut it naturally thickens your gravy too.

As a bonus, because we had the whole shin we got to take the bones away too to make a lovely ‘Ome-made beef stock.

And of course I couldn’t resist popping along to the local off licence (Cheers Mr Mitchell!) to get a couple bottles of ale to make the gravy with. I used Badger Breweries Poachers Choice. A lovely dark beer flavoured with Damsons. It always reminds me of Autumn and Winter. It’s one of those beers that gives you that lovely warm fuzzy feeling, ideal for drinking on a cold winters night around an open fire.  Of course some of the beer didn’t make it into the finished product!

Poachers Choice

So we have lovely rare breed, high welfare beef. ‘Ome-made beef stock to make the gravy, enriched with some rich fruity beer. A crumbly, butter laden, golden pastry crust… It all sounds fantastic but I’m sure there is something missing?

Of course! A good friend to share it with!. Cue Pete, now lets get stuck in!


First job is the stock.


If you don’t have the bones, the time or you just rather wouldn’t make your own then that’s fine. Just replace with bouillon or stock cubes.

I made this the day before I made the pie as I wanted to use the stock to cook the meat in.

So, I used the whole shin bone. Mick at the farm shop kindly cut it into three pieces so that it could fit in our stock pot.

Shin Bones

First of all I roasted the bones a few carrots and a couple of onions in a moderate oven for roughly 45 minutes. this just starts to caramelise the flesh, fat and sinew that’s left on the bones which will help give your stock a deeper flavour and a lovely dark colour (in fact to help with this I sprinkle a bit of sugar over!).

I then put the bones, onion and carrots in a stock pot, covered with water and put on to boil. whilst the water comes up to the boil I added 1 star anise, roughly 5 bay leaves, a teaspoon of black pepper-corns and a generous pinch of thyme. The stock can now be left for a couple of hours (ours was on for about four!) simmering away.

Beef Stock cooking

After a few hours, or more if you have the time, you need to take the bones out of the stock and strain the stock into another pan. You can now add your ale, wine or anything else you want to flavour the stock with. This then needs to be reduced by about two thirds by boiling vigorously.


If there is any marrow left in the bones, scoop it out and whisk it into the stock to enrich it. In our case if MissT is knocking about then it won’t make it that far, she absolutely loves bone marrow!

The stock needs to cool and ideally be refrigerated so that the fat can solidify and be skimmed off. It is then ready to use.

                                                                                   Finished Beef Stock

Cooking The Pie filling


I cooked the meat in big pieces. This allowed me to cook the meat for a long time to allow the fat and connective tissue to break down, make the meat melt in the mouth, add flavour and texture to the finished gravy.

I used 3 Kilo of Shin. This made 2 pies to feed 10 – 12 hungry people. Of course you could easily half the amount or if you can’t manage two pies you can freeze one portion of the cooked mixture to make another pie or a stew at a later date.


Generously coat your meat with seasoned flour (the easiest way to do this is to put the flour in a plastic bag, add your meat a bit at a time and give it a good shake!).

Browning Shin

Heat some oil in a heavy bottomed pan and then gently fry your meat until it has a nice golden colour. then add your stock to just cover the meat. bring to a simmer, cover and then put in the oven at 130°C/260°F for four hours.

In our case we now took the kids to their  swimming lessons (which takes about three hours!). If however you don’t have swimming lessons to do then I could recommend; mowing the lawn, cleaning the chickens out, fixing the leak under the sink or best of all going for a nice pint at your local!

Once the meat is cooked it can be taken out of the gravy put on a plate and covered with cling film to keep it moist.

The rest of the filling can now be added to the gravy to cook. I used around 1/2 Kilo of potatoes in big chunks, a couple of carrots cut up in big chunks a couple of medium sized onions roughly sliced and about 250g of baby button mushrooms left whole. Just chuck the whole lot into the gravy and then put back into the oven at 175°C/350°C for about an hour or until your potatoes are just cooked through.

The Pastry

I used short crust this time around. You could use puff (bought from the shop is fine) or rough puff. if you have a favourite recipe for pastry then you could use that. For two pie lids I used roughly 1 kilo of flour, so adjust your recipe to suit. I rubbed in 375g of butter to 1 kilo of flour with a couple of level teaspoons of salt added. I would normally use some lard (300g butter and 75g lard) however I had run out so to the mixture I added a couple tablespoons of beef suet. In the end it worked rather well!

Once the fat is rubbed into you flour add enough cold water (I throw a couple ice cubes in the water to really chill it) to just bring the pastry together. briefly knead and then wrap in cling film and leave to rest for at least twenty minutes.          Making Pastry


Creating The Pie


While your veg is finishing cooking make a thick roux by melting roughly 55g of butter in a heavy based pan. Once sizzling add approximately 2 tablespoons of flour and stir for a minute until you have something that resembles golden brown putty. Put to one side. This will be whisked into your gravy to get a perfect consistency.

select your pie dishes and break the meat up into them. I like to leave it fairly chunky.

Using a slotted spoon remove your cooked veg from the gravy and place among the meat.

Beef Pie Filling

Put the gravy back on a gentle heat. You can now add any extra flavourings you want. I added a generous splash of Worcestershire sauce. You want a nice thick gravy for your pie so whisk in the roux you prepared earlier, a little at a time until you have the desired consistency.

Ladle the gravy over your pie mixture. You want some of the filling to be peaking out so the pastry has something to sit on top of. You should have a little gravy left over to serve along side your pie.

Roll out your pastry to cover your filling. It wants to be just under a centimetre thick. Place the pastry over the pie dish. don’t stretch it over. You want a bit of give to allow for the pastry shrinking. Trim the edges and put a couple holes in the middle to allow steam to escape. Decorate with the excess pastry if you want and then generously egg wash the pie topping.Beef Pie Lid

The pie now needs to be cooked for 50 minutes to an hour on 195°C/380°F   (if using a fan oven reduce the temperature by about 20°C/70°F).              Once your pie is golden brown and your filling red hot the pie is ready, however it will benefit from being left for fifteen minutes or so before serving.

We had ours with Mushy Peas (or as Pete called them ‘Steeped Peas’) and gravy.

Plated Beef Pie Pies don’t come much better than this and when you have the fantastic company of an old friend it makes for a memorable meal!

 Pete & Pie!

Oh… and Mick, that beef… simply the best!